_post에 글을 작성할때마다 매번 아래를 작성해주는게 번거로움
1
2
3
4
5
---
title: #title
categories: # []
tags: # []
---
글을 작성할때 에디터로 Visual Studio Code (이하: VSCode)를 사용하고 있는데, VSCode에서는 Snippets을 지원한다.
나만의 snippet 만들기
아래 경로로 들어가면 New Global Snippets file...을 바로 생성이 가능하다.
[Code] - [Preference] - [User Snippets]
생성하면 아래와 같이 파일이 생성되는데 여기에 내가 원하는 snippets을 설정하면 된다.
1
2
3
4
5
6
7
8
9
10
11
12
13
14
15
16
17
18
19
20
21
{
    "post": {
        "scope": "markdown,md",
        "prefix": "post",
        "body": [
			"---",
			"title:",
			"categories: []",
			"tags: []",
			"mermaid: true",
			"math: true",
			"comments: true",
			"pin: false",
			"image:",
			"  path:",
			"  width:",
			"  height:",
			"  alt:" ,
			 "---"]
    }
}
body: 여러줄을 사용할때는,를 이용해서 구분한다.
Default Snippets
```json // Place your global snippets here. Each snippet is defined under a snippet name and has a scope, prefix, body and // description. Add comma separated ids of the languages where the snippet is applicable in the scope field. If scope // is left empty or omitted, the snippet gets applied to all languages. The prefix is what is // used to trigger the snippet and the body will be expanded and inserted. Possible variables are: // $1, $2 for tab stops, $0 for the final cursor position, and ${1:label}, ${2:another} for placeholders. // Placeholders with the same ids are connected. // Example: // "Print to console": { // "scope": "javascript,typescript", // "prefix": "log", // "body": [ // "console.log('$1');", // "$2" // ], // "description": "Log output to console" // } ```
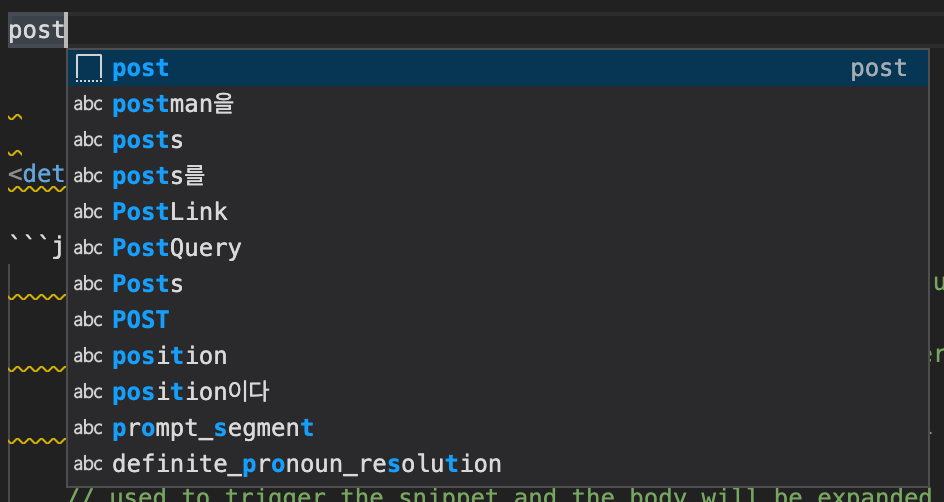
이후에 markdown을 작성할때 post를 입력하고 post ^Space를 누르면 아래와 같이 생성된 snippet이 보인다.
아래는 snippet으로 생성된 결과 chipry에서 지원하는 Front Matter
1
2
3
4
5
6
7
8
9
10
11
12
13
14
---
title:
categories: []
tags: []
mermaid: true
math: true
comments: true
pin: false
image:
  path:
  width:
  height:
  alt:
---
참고
- https://code.visualstudio.com/docs/editor/userdefinedsnippets
